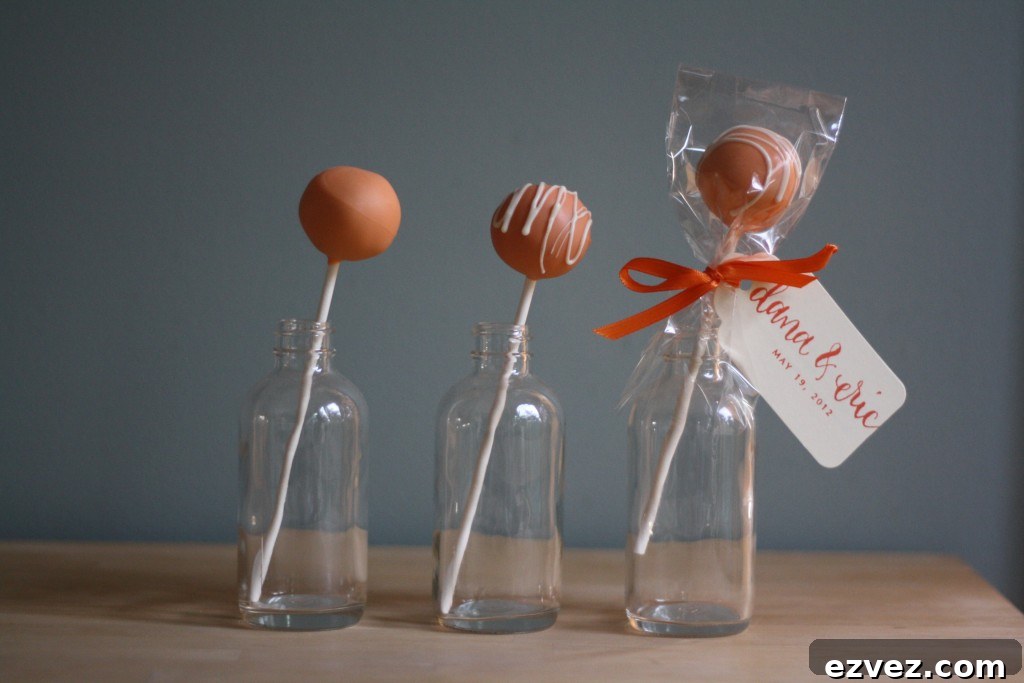
Do you remember when I made 150 cake pops in my shoebox—also known as my kitchen?
Believe it or not, I had never made a single cake pop before and decided my first attempt should produce one hundred and fifty treats to give as favors at friends’ wedding. It sounds crazy now, but it turned into a joyful, memorable experience.
If you’re facing the task of making more than a dozen cake pops for an event where people will actually eat them, this post is for you: you can do it, and it will be fine.
It was an honor to contribute to my friends’ wedding by sharing something I love—baking. Bringing homemade treats to a celebration felt like a meaningful gift.
Baking makes friends!
I learned a lot during the process, and the most important lesson was to stay organized. Make lists and anticipate scenarios. Clean your fridge, buy supplies, and don’t underestimate how much chocolate you need—buy extra. Map out a timeline and work backward from the pickup or event date.
For my project, the cake pops were picked up on Thursday. I shopped for supplies on Monday and did the food shopping Tuesday (I made everything from scratch). Wednesday night included a bit of unexpected wine, but it didn’t derail the plan—I baked five cakes starting at 11:43 p.m. and woke up Thursday morning ready for the big cake-pop day.
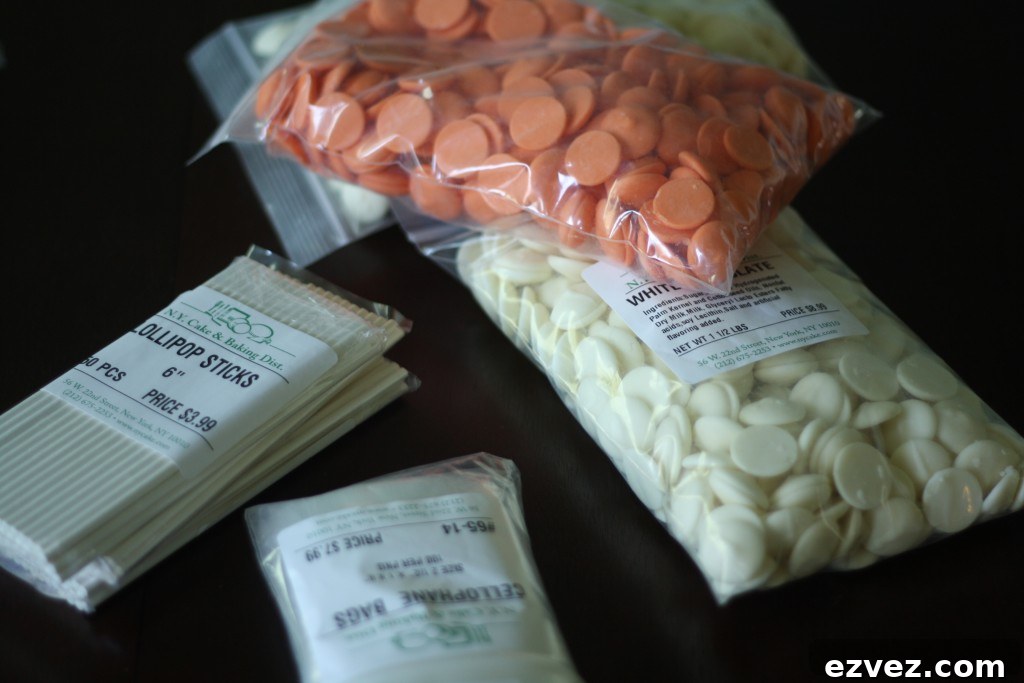
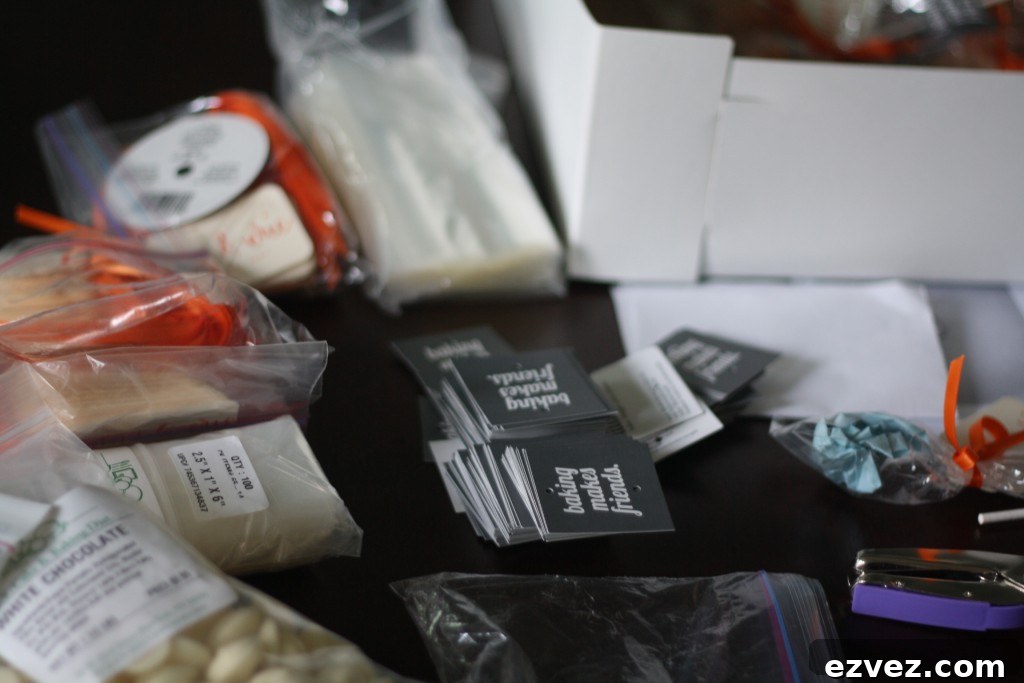
Supplies: 150 lollipop sticks, 200 cellophane bags, and six pounds of candy melts in white and orange.
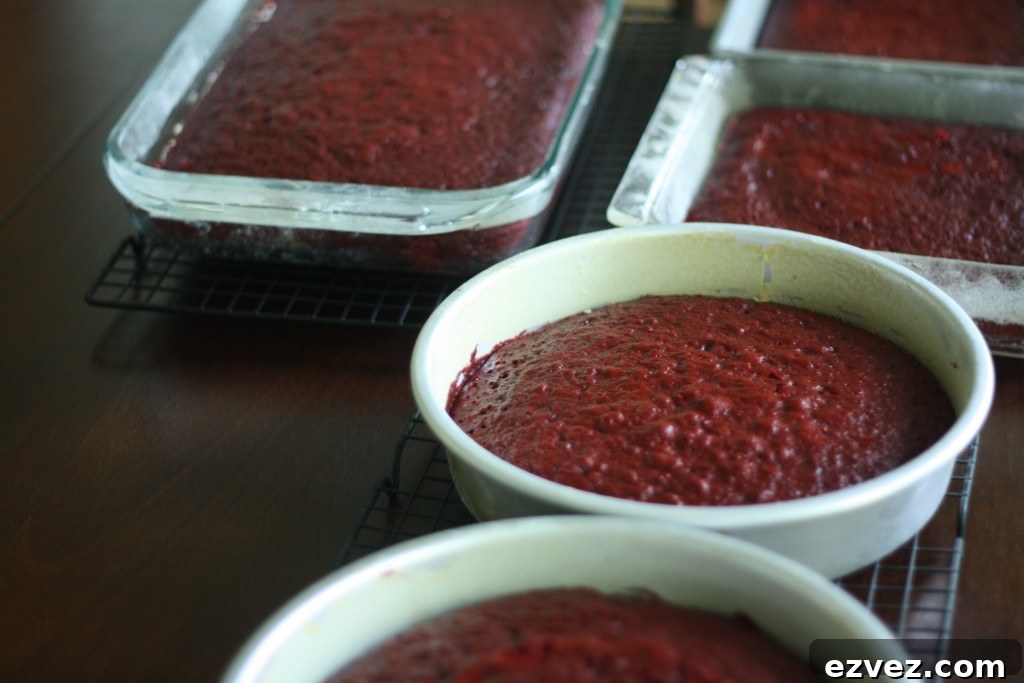
The tipsy baking went surprisingly well. I made homemade red velvet cake in three batches using a variety of bakeware: one 9×13 pan, two 9-inch rounds, and two 8×8 squares.
If you’re new to cake pops: they are fully baked cake mixed with frosting, formed into balls, placed on sticks, and dipped in chocolate. After this project I gained a newfound respect for bakers who specialize in pops.
Process the fully cooled cake in a food processor to speed things up. I had three large bowls of crumbs. Mix about 1 cup of cream cheese frosting into each bowl with the back of a spoon. Shape one bowl at a time while chilling the others.
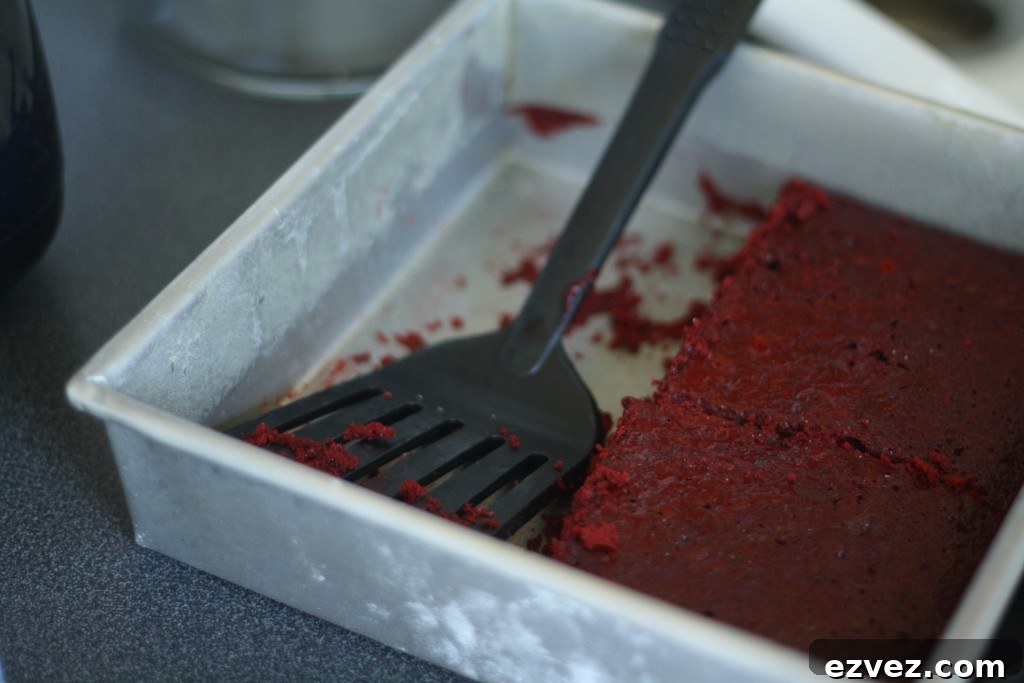
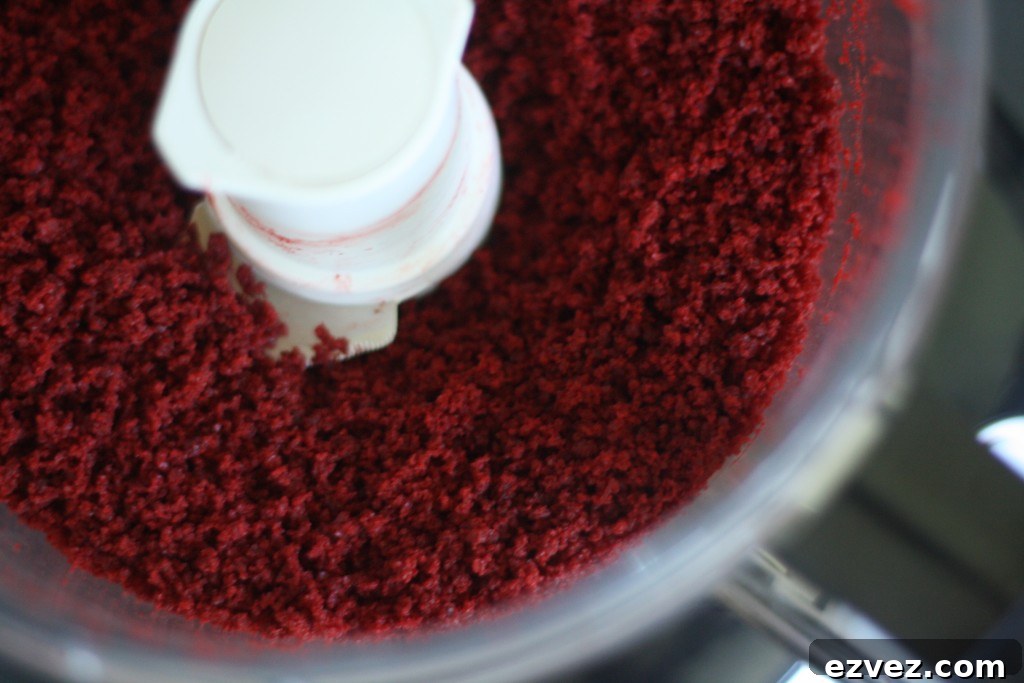
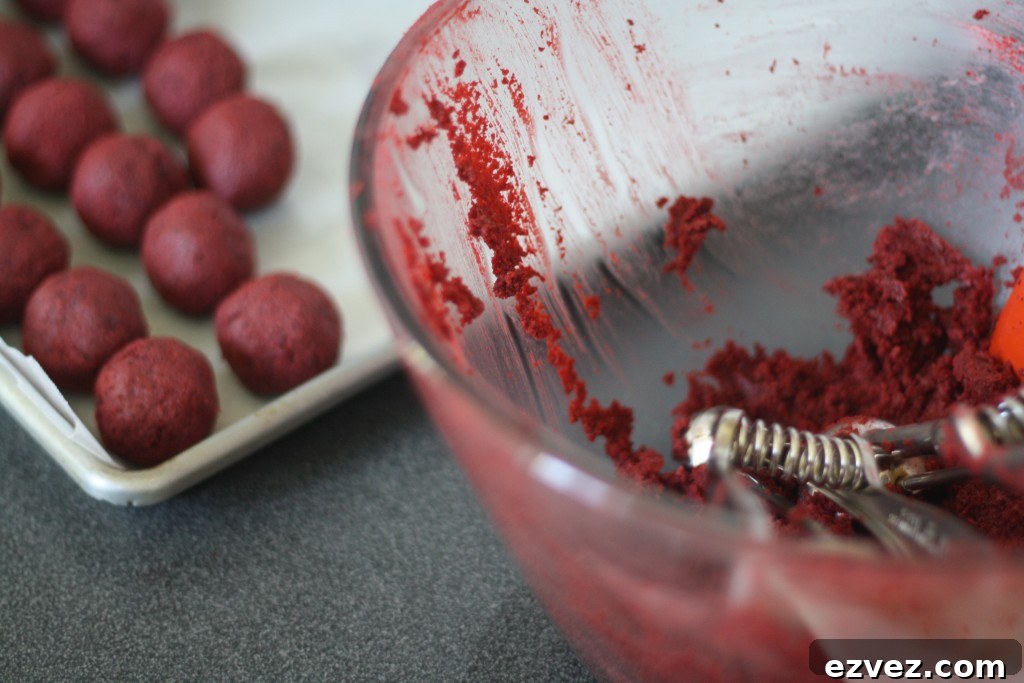
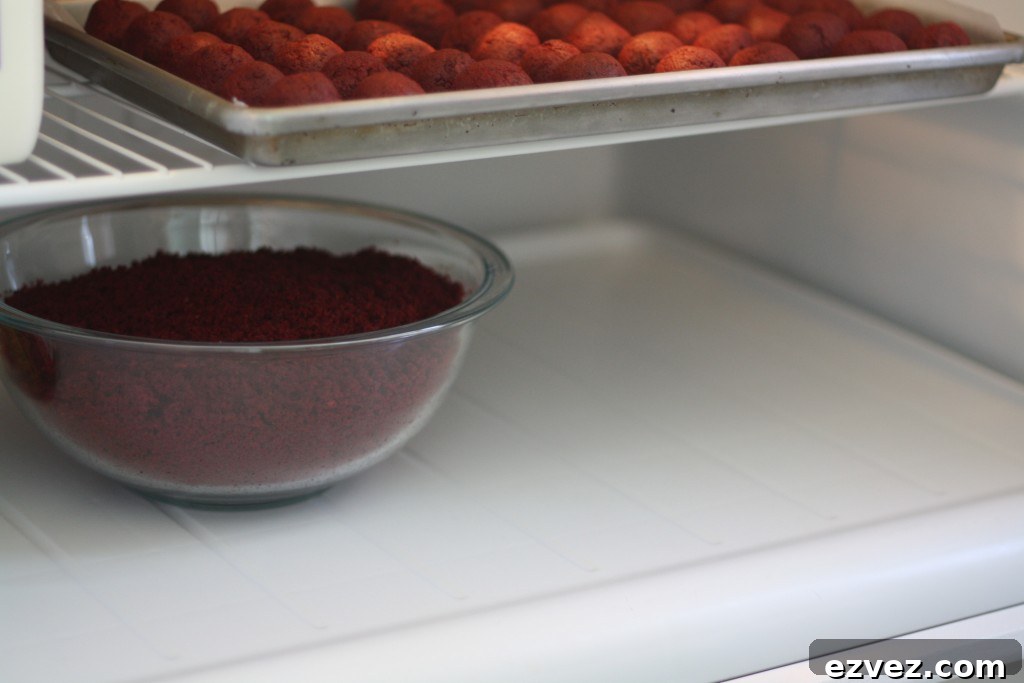
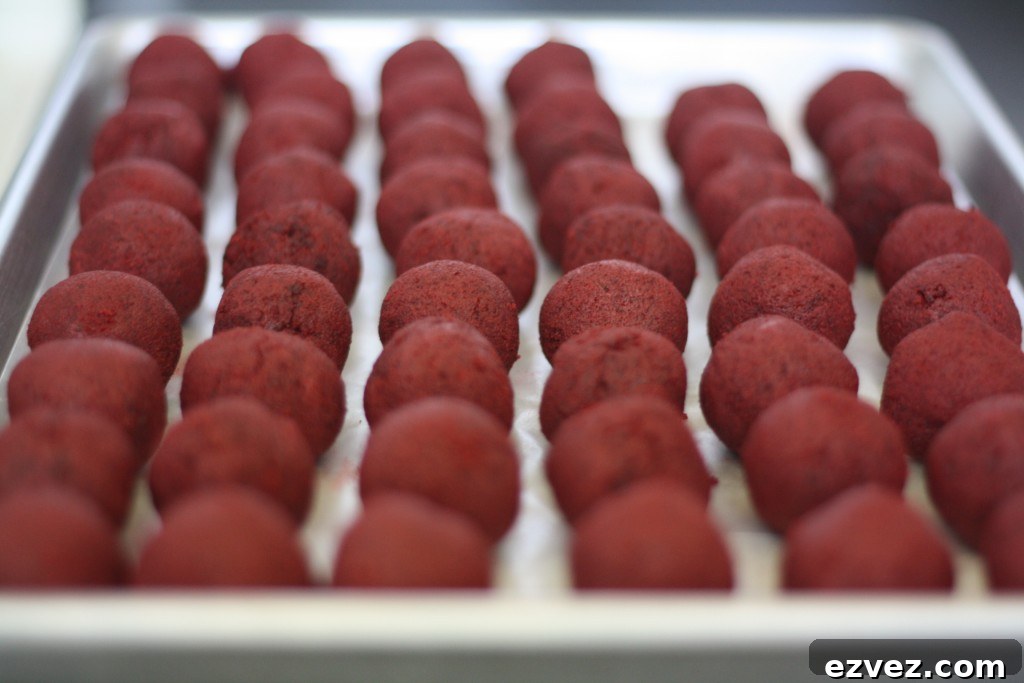
I used a tablespoon-sized scoop to portion the cake mixture, rolled each portion into a ball, and placed them on wax paper-lined baking sheets. Expect about 50 cake balls per batch of cake. Chill the rolled balls in the fridge, then repeat with the next batch until all balls are formed.
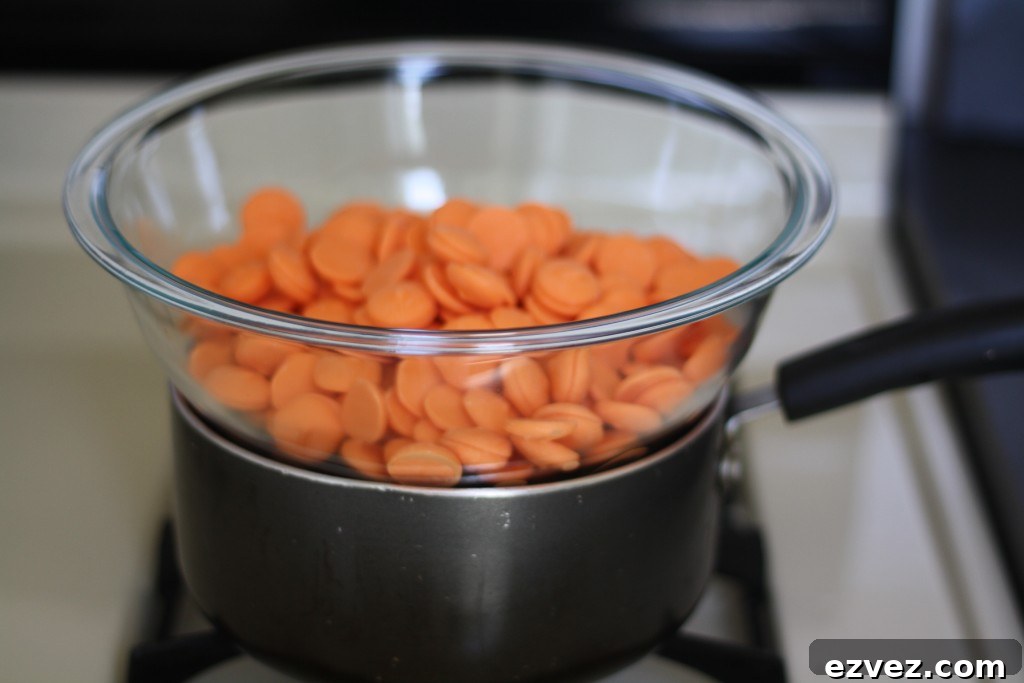
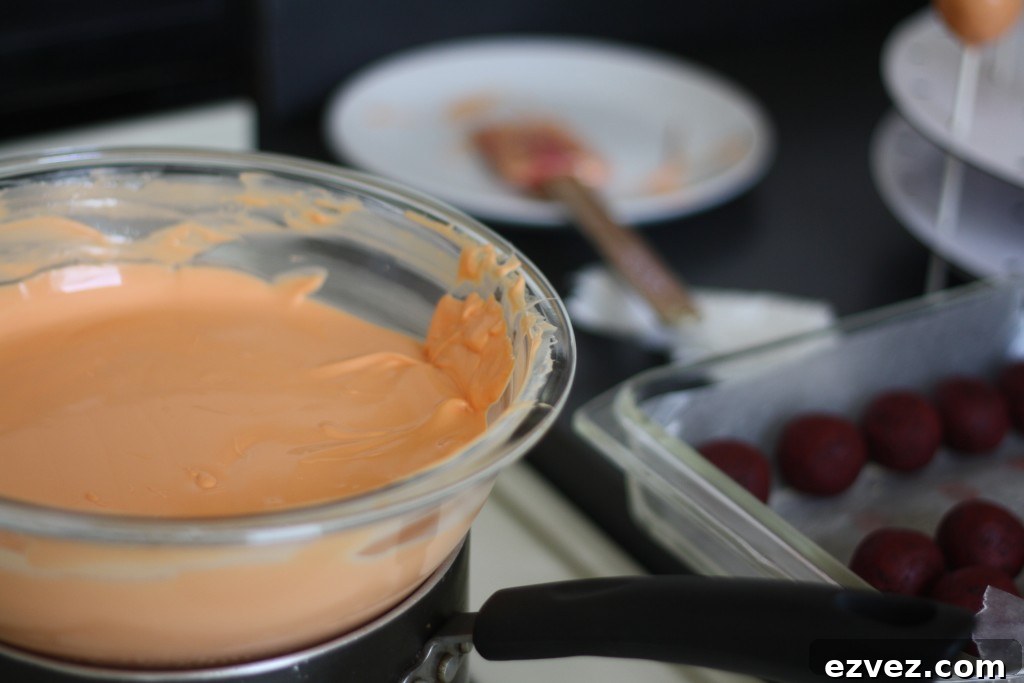
Once the balls are formed, it’s time to put them on sticks and dip them in chocolate. Melt the candy melts in a medium bowl over gently simmering water. To achieve a light orange shade, I melted one pound of orange melts with one pound of white melts. Melting a large amount takes time, so use it to set up your stations.
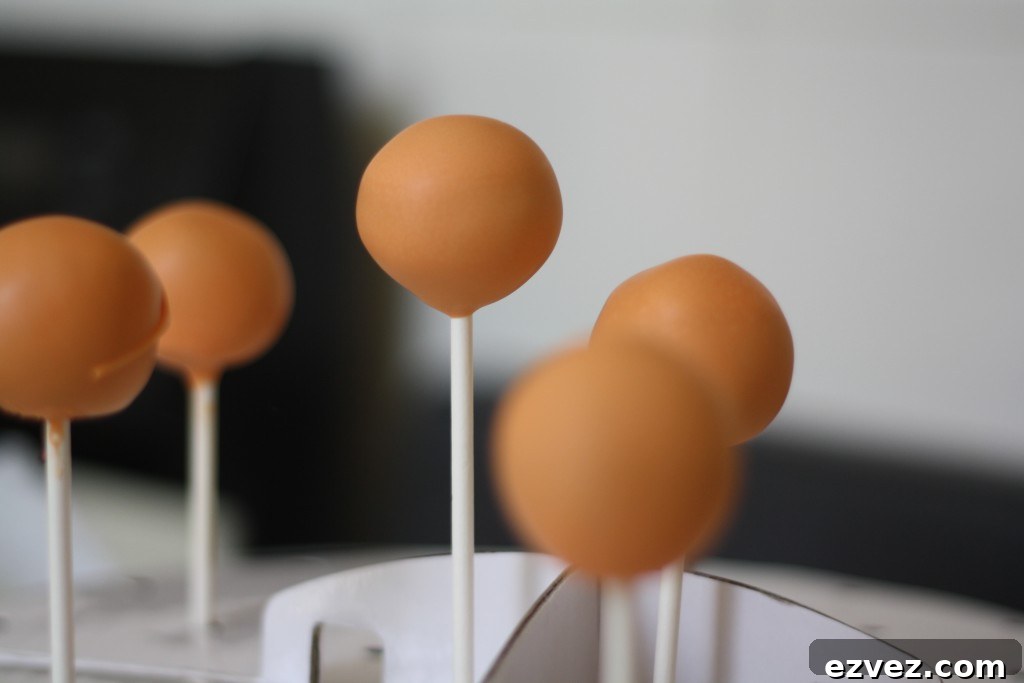
I bought a foam block and poked holes to create a drying rack. Having a dedicated drying and storage station—something that holds the pops upright—makes the process much easier.
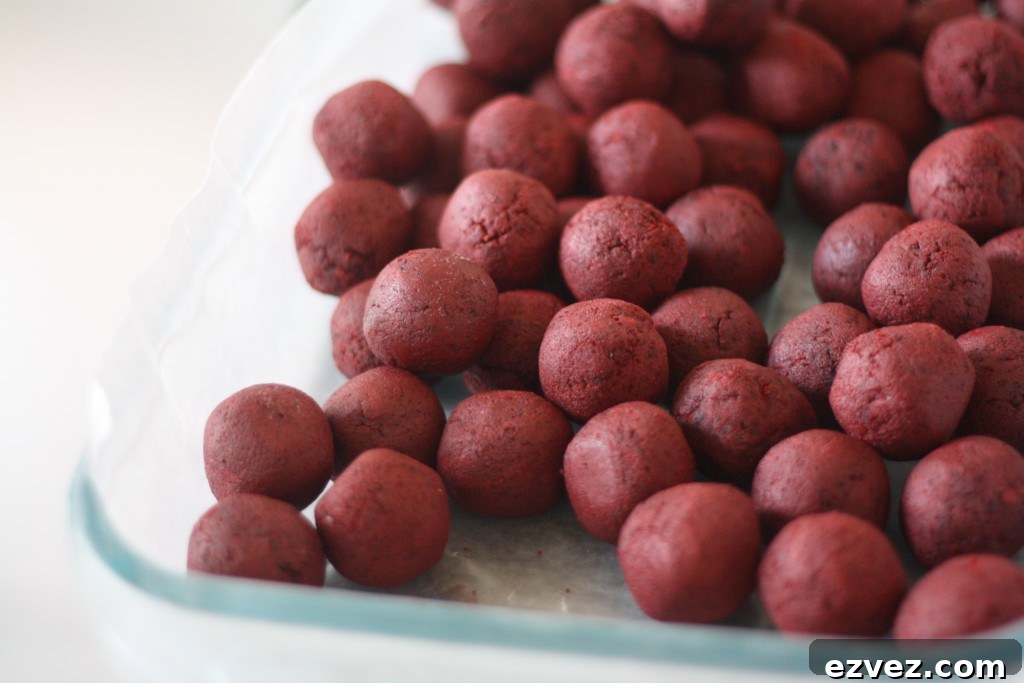
After chilling the balls for a few hours, transfer them to a glass baking pan in the fridge. Work in small batches: take a handful out, let them warm slightly on a plate, give them a quick re-roll to smooth any imperfections, and then dip.
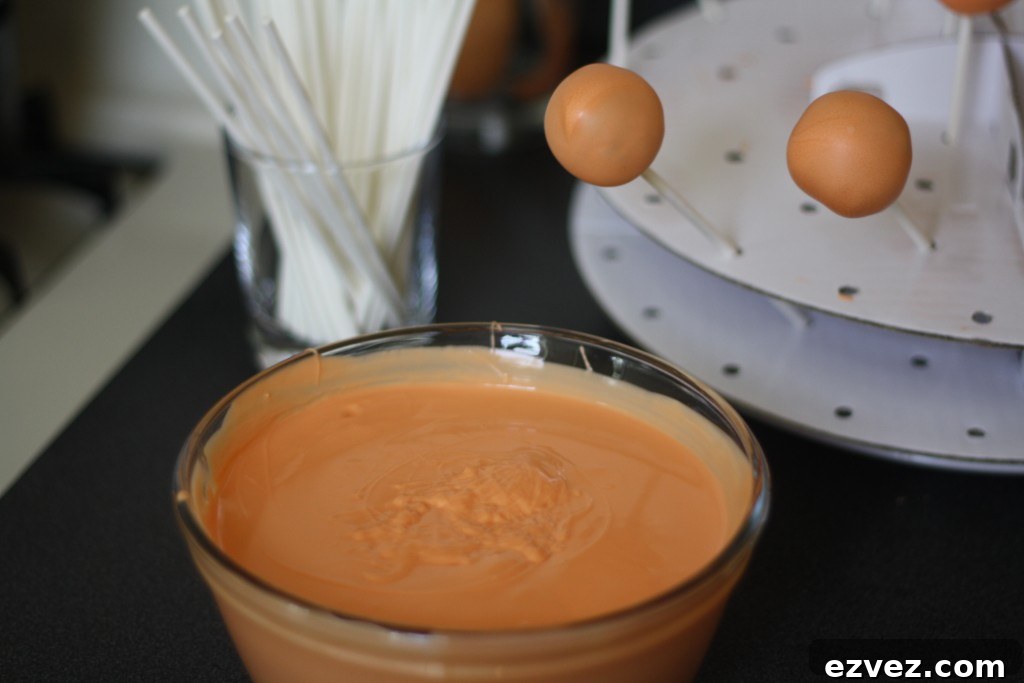
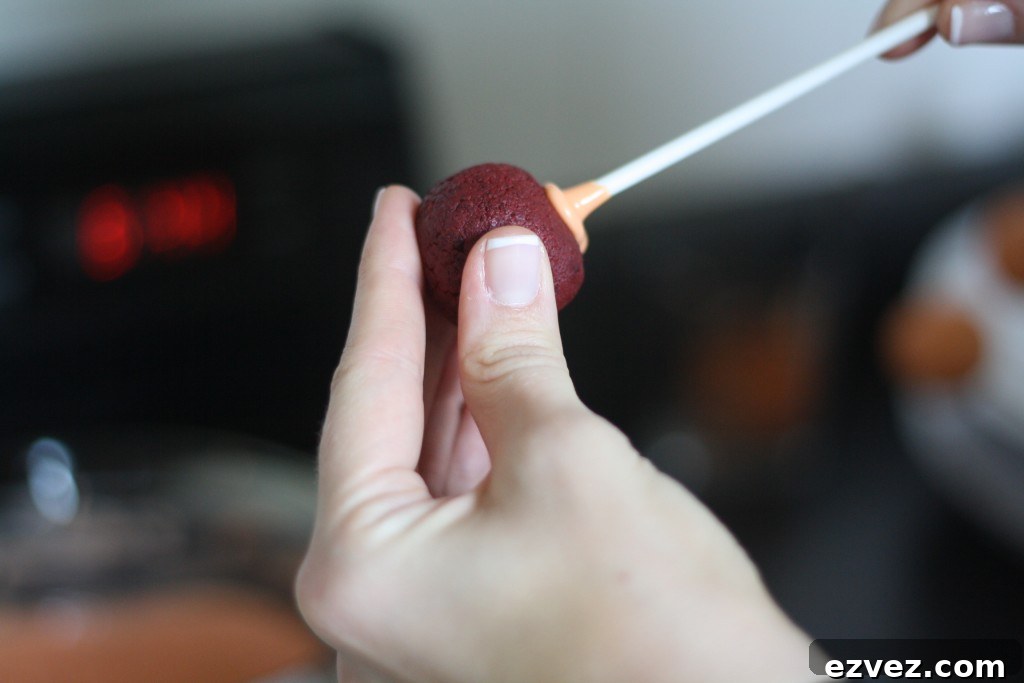
Set up a dipping station with melted chocolate, sticks, and your drying rack. Dip the tip of the stick in chocolate before inserting it into the cake ball; this helps the stick stay secure and creates a neat chocolate seal around the base.
Dip each pop straight down into the chocolate, tilt to coat evenly, and gently shake off excess. Transfer to the drying rack. Repeat until all pops are coated.
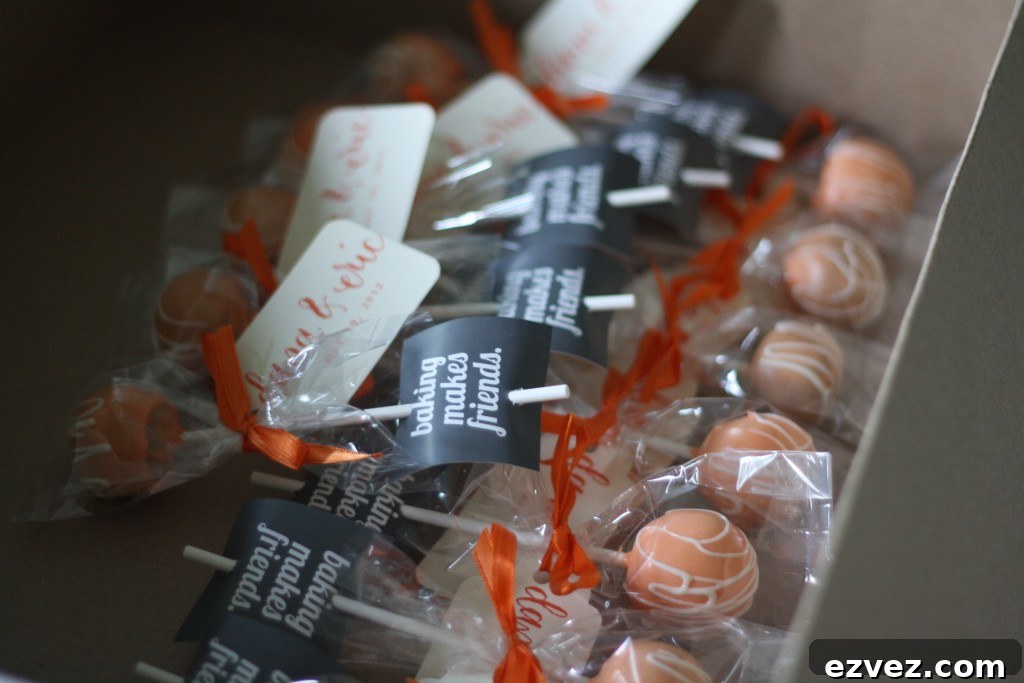
When the drying rack fills, move the pops to a drizzle station. Melt about half a pound of white chocolate, spoon it into a small plastic pastry bag, snip a tiny corner, and drizzle each pop. Store the bag upright in a glass so it’s ready for the next batch.
Next comes assembly and packaging. Invite a few friends over, offer snacks and drinks, and enlist help for the wrapping station. Slide each pop into a small cellophane bag, tie with ribbon, and add a tag. Having extra hands makes this step quick and fun.
Although the chocolate shell sets firm, I kept the finished pops flat until they were boxed to be safe. Pack them carefully—wrapped cake pops take more space than you’d expect—so have several sturdy boxes ready for transport.
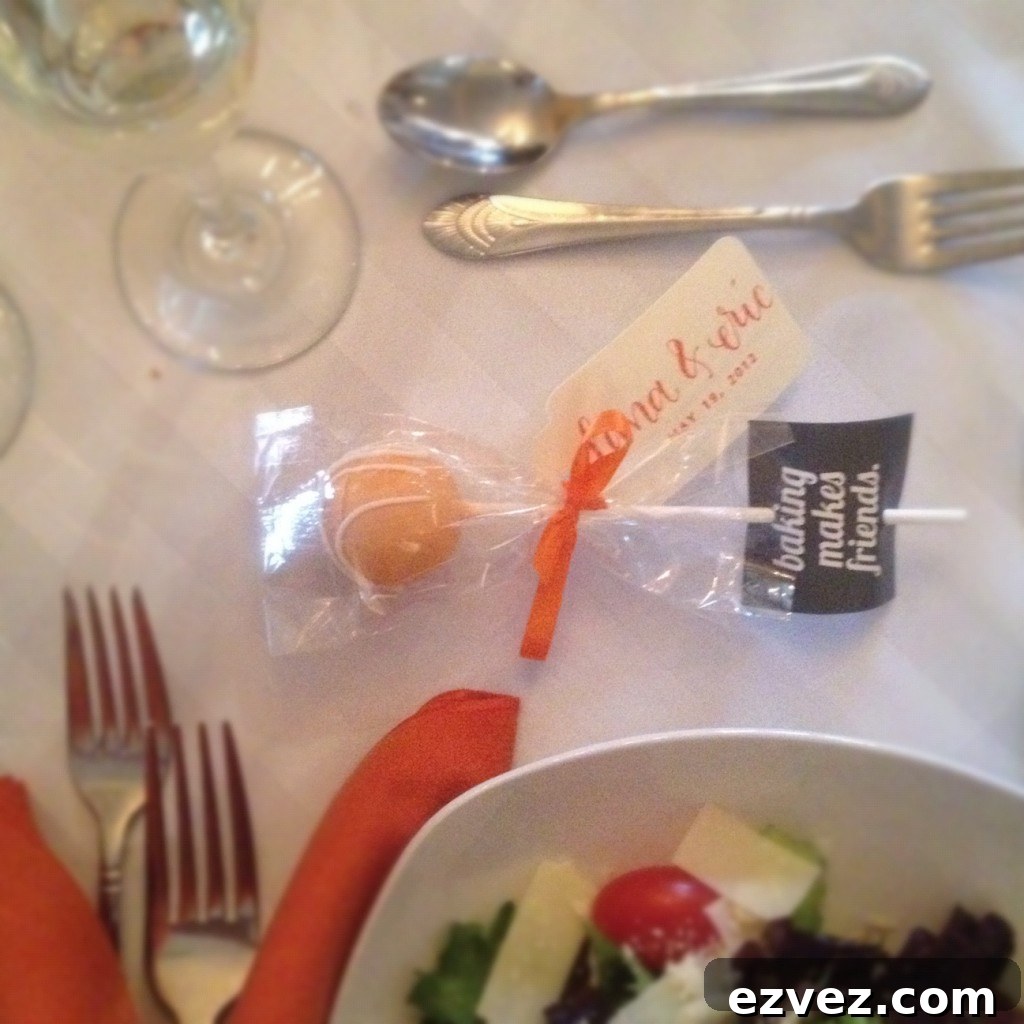
Before I knew it, it was time to dress up and arrive at the wedding. The cake pops were displayed at each place setting, a small touch that added to a spectacular day. I felt so honored to play a part in the celebration. Congratulations, Dana and Eric! xoxo