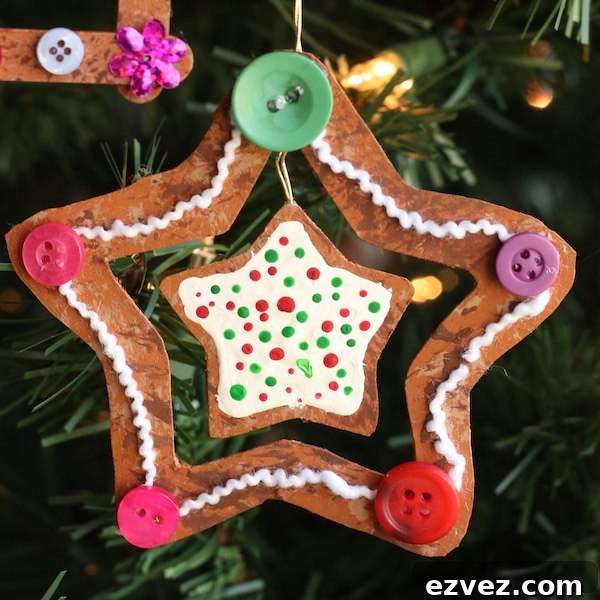
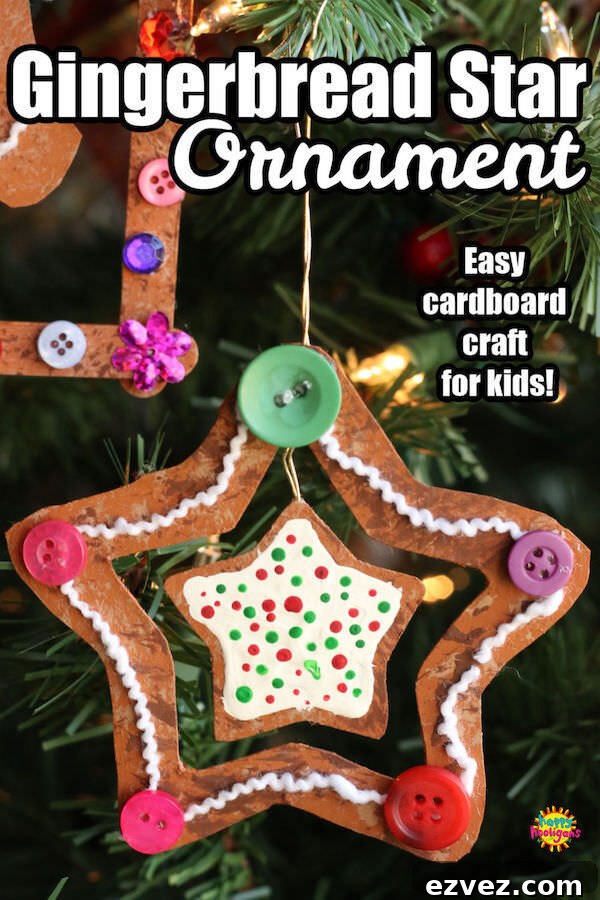
This charming gingerbread star ornament is a simple, kid-friendly craft: trace and cut stars from cardboard, paint them a cookie-brown, then add “icing” and sprinkles for a realistic gingerbread look. It’s a great fine motor activity and a fun Christmas project for children of all ages. For a matching set, try the cardboard gingerbread man and house ornaments too.
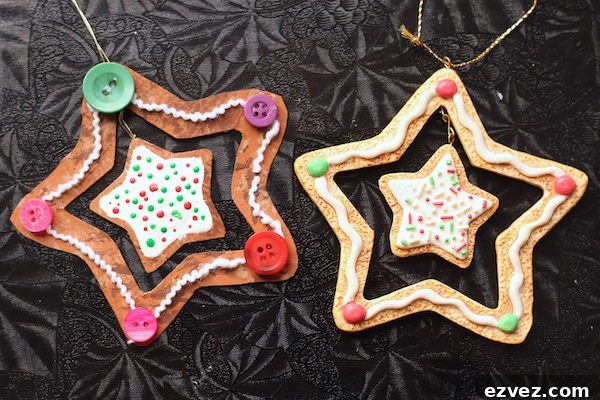
We were inspired by a store-bought ornament to make our own version. The original set included a gingerbread man, a house, and a star, so this is Part 2 of that project: our cardboard gingerbread star ornament.
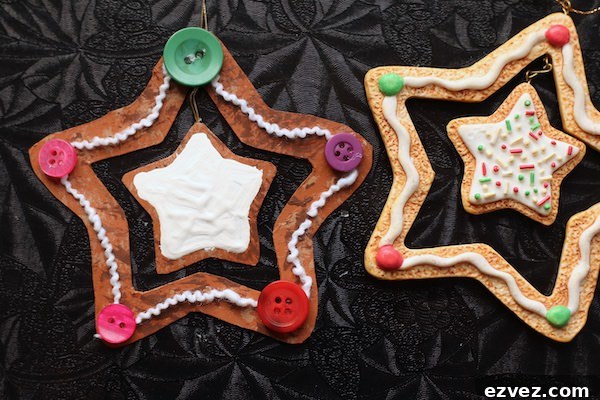
Below you can see the store-bought star on the right and our homemade version on the left.
The finished result is full of texture — button “candies,” yarn icing, stippled paint, and little painted sprinkles give the star a homemade, festive look. If you prefer, substitute glitter, sequins, small craft gems, or yarn scraps for the dots to vary the decoration.
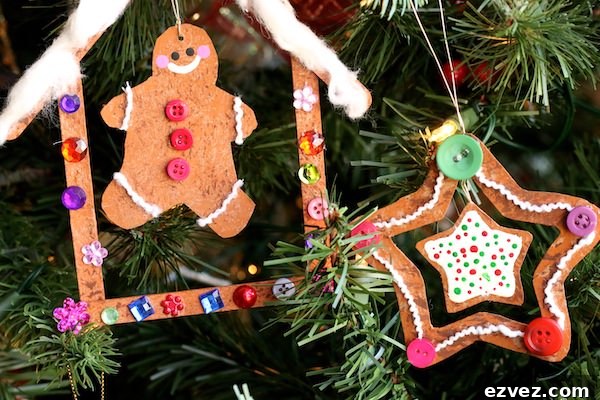
Read on for step-by-step instructions to make these cardboard gingerbread stars. Afterward, you can make the matching gingerbread man and house ornaments to complete the set.
Cardboard Gingerbread Star Ornament
Note: This post originally contains affiliate links.
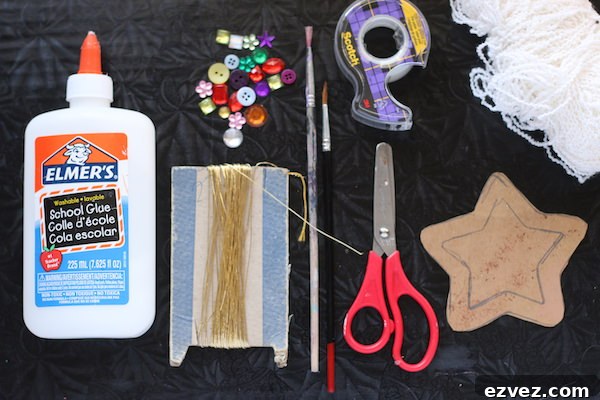
Supplies:
- Piece of thin cardboard (for example, a cereal box)
- Paint: brown shades for the cookie, plus small amounts of red and green for decorations
- Paintbrush
- White yarn for “icing”
- Colourful buttons, sequins, or small craft gems for embellishments
- Glue or glue gun
- Scissors
- Metallic thread for hanging
- Tape
Instructions:
(Printable instructions available at the end)
Cut the Stars
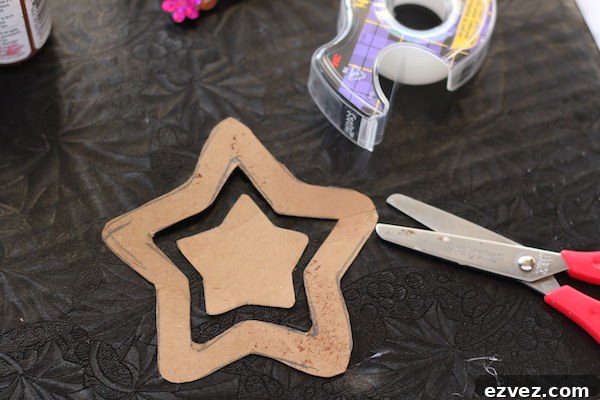
Draw or trace a star about 4 inches wide onto the cardboard. Using scissors, cut a small snip (about 1/2 inch) into one side and carefully cut out the center to create a smaller solid star and a half-inch-wide star outline. Tape closed the snip on the larger outline if needed. Trim the smaller star slightly so there is a visible gap when the two pieces are layered together.
Paint
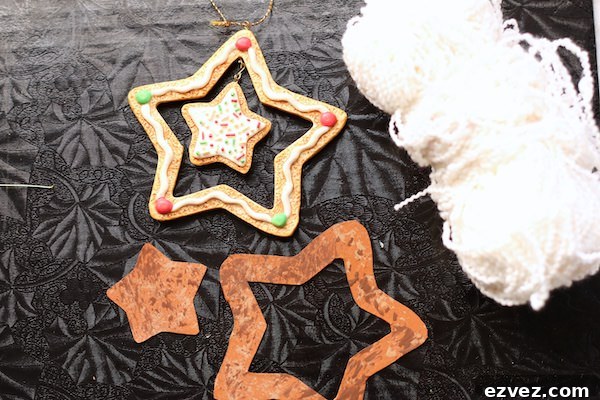
Paint both star shapes in a gingerbread brown. While the paint is still wet or after it dries, gently dab a darker brown and a lighter brown over the surface to add texture and dimension — a stippling or pouncing motion works well.
Join Together
Attach the two stars together by tying a short length of metallic thread between them and securing with a bit of tape or a dab of hot glue. The metallic thread also serves as a hanger if you leave it long enough.
Decorate
Glue lengths of white yarn along the front of the larger star to mimic icing. Add buttons, sequins, or craft gems at the points for candy details. Paint the smaller star with a thick layer of white, then use the rounded end of a paintbrush to add small red and green “sprinkles.”
Add a Hanger
Secure some thread or metallic cord to the back of the ornament with glue or tape so it can hang from the tree.
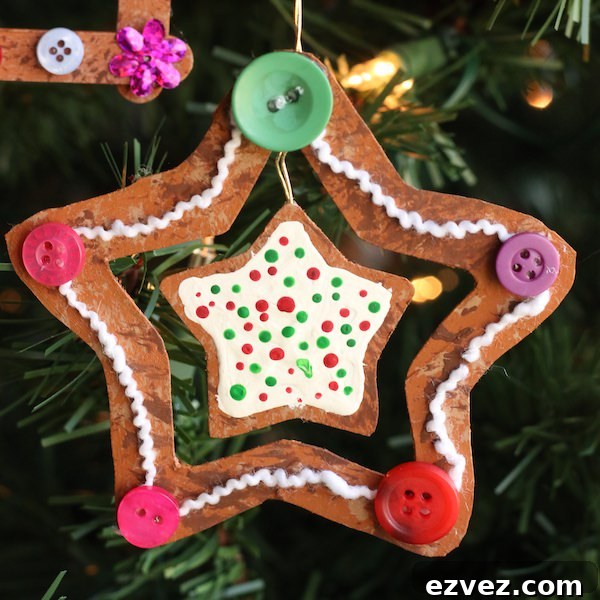
When dry, hang your gingerbread star on the tree. These ornaments make a cozy, homemade addition to holiday decor and pair perfectly with cardboard gingerbread man and house ornaments for a coordinated set.
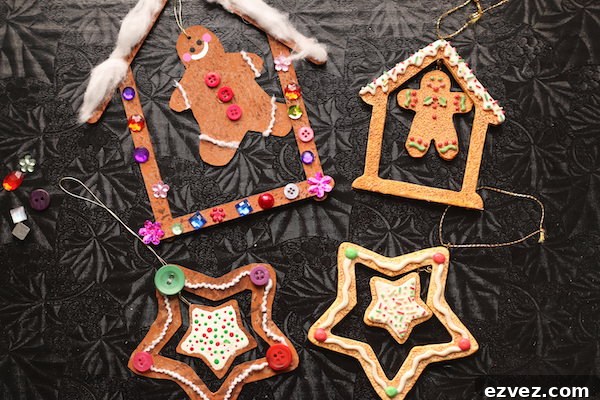
More easy cardboard Christmas ornament ideas include vintage-style shapes, sugar cookie designs, and yarn-wrapped initials—each one is kid- and budget-friendly and makes a lovely handmade holiday display.
Print Project
Cardboard Gingerbread Star Ornament
Supplies
- Thin cardboard (cereal box)
- Paint (brown shades, plus red and green)
- Paintbrush
- White yarn
- Buttons, sequins, or craft gems
- Glue or glue gun
- Scissors
- Metallic thread
- Tape
Instructions
- Trace or draw a star about 4 inches wide on cardboard. Snip into one side and cut out the center to create a smaller star and a star-shaped outline. Tape the snip on the larger outline and trim the smaller star so there is a gap when layered.
- Paint both stars a gingerbread brown. Add darker and lighter brown accents for texture and dimension.
- Attach the stars together with metallic thread and secure with tape or glue.
- Glue white yarn “icing” to the larger star and attach buttons, sequins, or gems to the points. Paint the smaller star white and add red and green paint dots for sprinkles. Let dry.
- Glue or tape some thread to the back for hanging.
Get the 3-5 Playful Preschool e-Book!
A collection of preschool activities, printables, and links to additional projects—great for parents and educators planning playful learning.
Follow the Hooligans on Facebook for more easy kids’ crafts and seasonal projects.