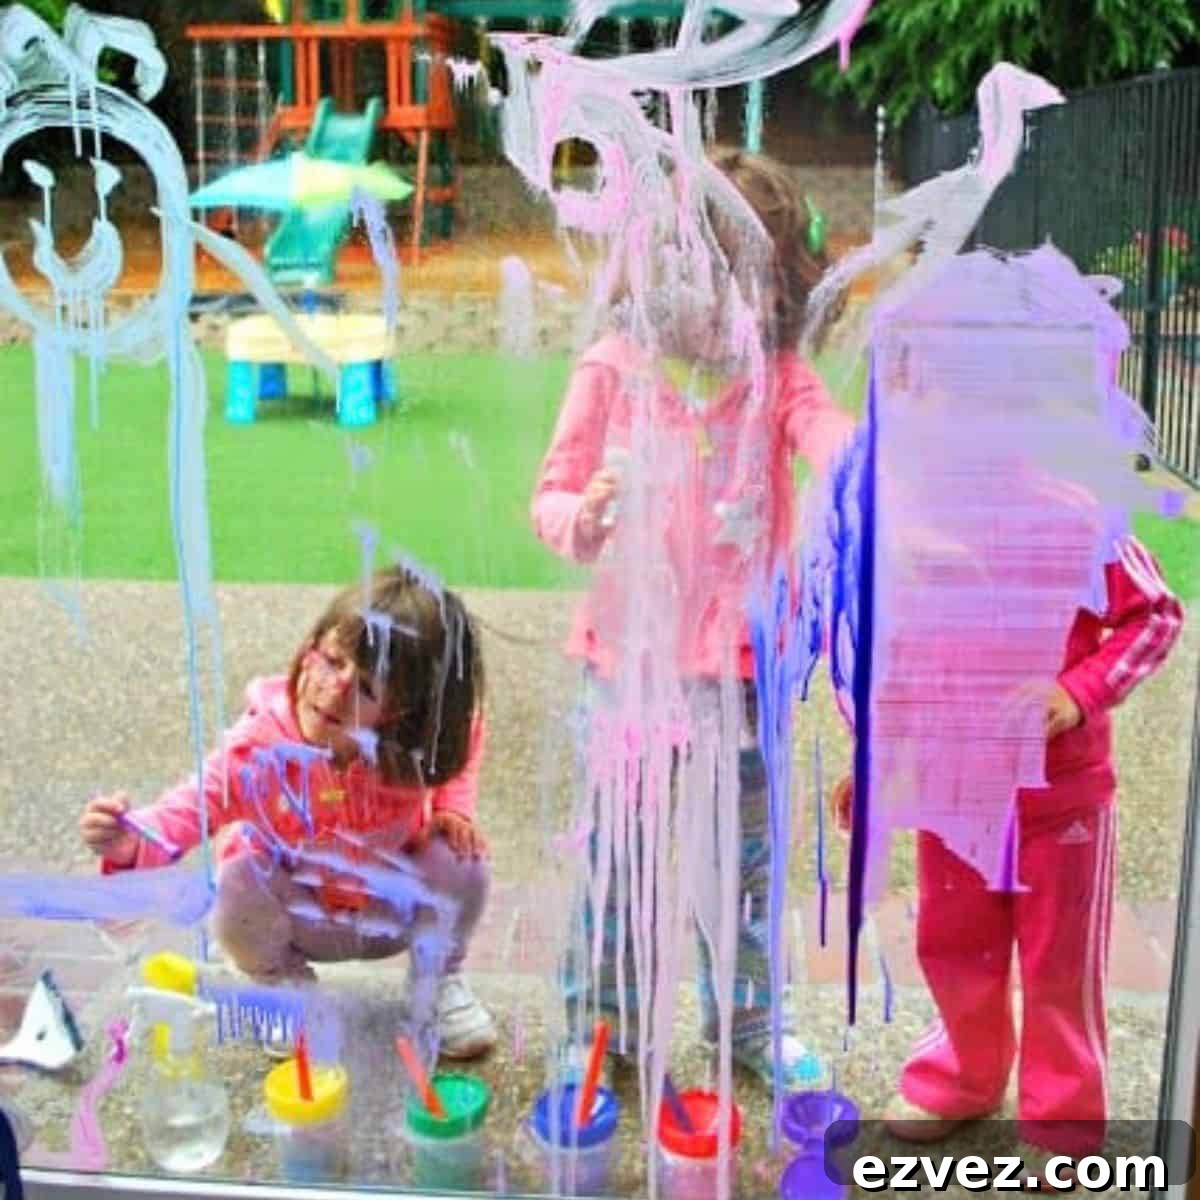
Recently we visited the Bay Area Discovery Museum, and the children loved every exhibit — especially the window painting station. They spent so much time there that I decided to recreate a similar kids’ window art activity at home. It was an instant hit. We set everything up outside so cleanup was easy; a quick spray from the hose removed the paint in minutes. Below you’ll find a simple guide to set up your own window painting activity at home and ideas to get the most from the experience.
If you are interested in purchasing supplies for this activity, affiliate links are provided at the end of this post.
Here’s a snapshot of the window painting area at the museum that inspired us.
What you’ll need:
- 4–5 cups of tempera paint in different colors, thinned with water
- Paint brushes (various sizes)
- A spray bottle filled with water
- A squeegee for cleaning the glass
Thinning the paint is important. If the paint is left at full strength it can be hard to remove. We used a roughly 50/50 mix of tempera paint and water so it flowed easily on the glass and rinsed off quickly with the hose, spray bottle, or squeegee.
Set out the paints, brushes, spray bottle and squeegee, and let the kids loose on a clean window or sliding glass door. Large sliding doors make an ideal canvas because they are easy for several children to reach at once, but any low window will work. If you need to do this indoors, protect floors and nearby woodwork with a drop cloth — outdoor setup is far easier for cleanup.
Painting on vertical glass feels similar to working at an easel and encourages the use of larger arm movements, which supports gross motor development. Watching the children paint, I noticed how they stretched and reached across the surface, developing coordination and strength while they created.
When three children painted together, the activity naturally encouraged spatial thinking and collaboration. They discussed where to place colors so they didn’t overlap too much, negotiated turns with brushes, and learned to share the space. It turned into a social exercise as much as an art project.
Because the paint mixture is watery, colorful drips often formed on the pavement below. Those drips became another point of curiosity: the kids observed how colors blended and how water moved paint across surfaces. This offers a simple, hands-on lesson in cause and effect, color mixing, and fluid dynamics.
When the window filled up, the children used the spray bottle and squeegee to clear space and start a new design. Cleaning becomes part of the game — and a satisfying way to reset the canvas for fresh creations.
Some of my favorite photos from the day were taken from inside the house, looking out at the kids as they painted. Those candid shots captured their concentration and joy perfectly.
Once it was time to start over, a quick spray and a pass with the squeegee cleared the glass. The process of creating, observing, and cleaning gave the children a full, rounded activity from start to finish.
This window painting activity is fun, educational, and easy to adapt. You don’t need a large sliding door — any accessible window works. If you do it outdoors, cleanup is quick with a hose. Indoors, take a few extra precautions to protect floors and trim. Either way, children gain fine and gross motor practice, social skills, and an opportunity to experiment with color and composition while having a great time.
More painting ideas to try: Painting with Golf Balls and Painting with Feathers.